How Are Shaker Cabinet Doors Made?

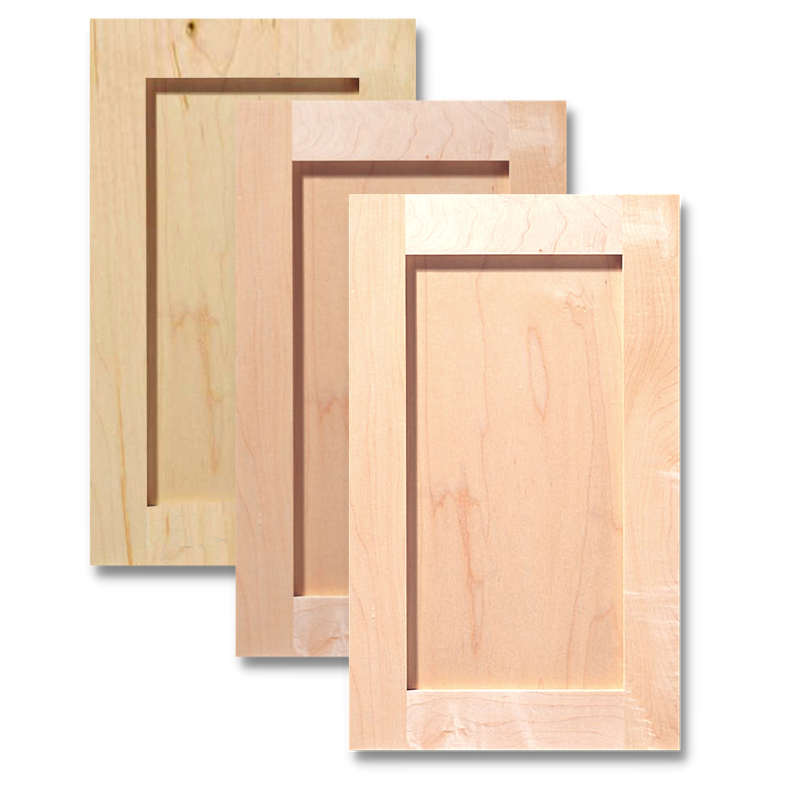
Every where you look today, you see shaker cabinet doors. And it is no surprise, as this style of cabinet door has been around for well over 150 years. But, you may be wondering how shaker cabinet doors are made. Shaker cabinet doors are made using a cope-and-stick construction method, which is also known as a butt joint. In this method, the rails are fit between the stiles at a 90-degree angle. The stiles are the vertical pieces of the frame and will be the full height of the door. The rails are the horizontal pieces and fit between the stiles.
The stiles and rails have grooves cut into their inside edges so that that panel can slide in and be secured. Typically, wood glue will be used as the frame and panel are fit together. While simple, this construction has proven the test of time due to its attractive minimalism and strength. If you are looking to try your hand at making DIY-shaker cabinet doors, check out the steps below. You will need a space to work, a table saw, and a mitered gauge.
Pro Tip: Be sure to sharpen all blades before you begin. This will help you achieve the best results.
Disclaimer: This blog post contains affiliate links and we may receive a small commission for purchases made. These are products we highly recommend.
- Step 1: Prepare for the Project
- The first step to getting started making your DIY shaker cabinet door is to gather the materials. To do this, you will need to measure the space where you intend to install the door. For the stiles, you will need to measure the height of the opening you want to cover and add any overlay you want. The overlay is the distance the door goes past the cabinet box opening. You will also need a 1/4" panel for the door.
- To learn more about measuring for cabinet door overlay, check out our helpful guide.
- Typically, for the width of the stiles, you will use between 2 and 2 1/4 inches wide. You will need to know this measurement to determine the width of the rails. Remember, the rails fit between the stiles. And so, you will need to take the combined width of the stiles and subtract that from the total width of the door.
- Step 2: Dadoes and Tenons
- Now that you have sized and gathered all the pieces, you can get started. You will need to cut the grooves around the interior of the frame. These grooves are called dadoes. On the rails, you will cut a tenon, which will slide into the dadoes on the stiles. This will provide a secure hold for the frame. For the next step, you will need wood glue and clamps. If you haven't sourced these yet, check out the links below:
- Step 3: Putting it Together
- Now that everything is cut to size and prepped, all that is left is to put the pieces together. Apply a bead of wood glue all the way around the dadoes. Then, fit a stile and rail together to create one corner. Insert the panel into this corner and then add the remaining stile and rail to the frame.
- Using your clamps, secure the door both vertically and horizontally at the joints. To cure, you will need to let the glue dry for around 24 hours. Once it is dry, you can lightly sand away any excess.
- Your next step for this project could be to paint your new shaker cabinet door. If so, check out our handy guide for finishing your cabinets.
Pro Tip
This pro tip has two parts. The first part is to purchase extra stiles and rails for testing. You can use these pieces to get your table saw and miter guage aligned and ready without having to worry about ruining the materials for your doors. Going along with that, be sure to measure twice. These two tips can help you prevent unexpected trips back to the hardware store in the middle of your shaker cabinet door project.
For more advice and pro tips from our cabinet experts, check out our How to Guides
Did you find this helpful?
 MADE IN THE USA
