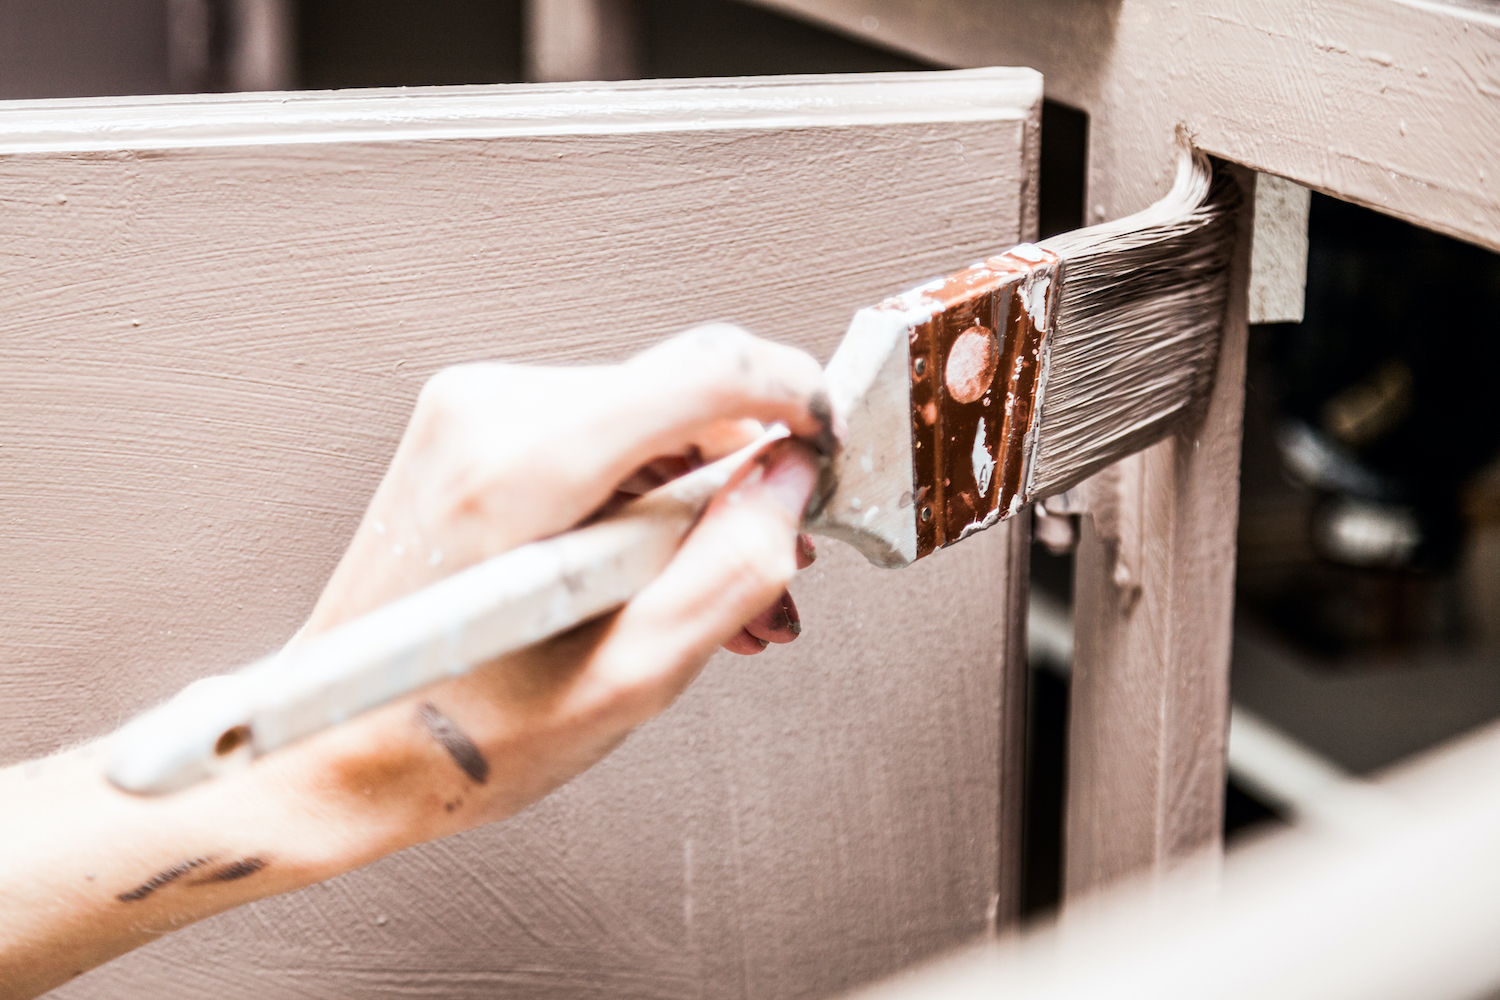
When it comes to refinishing your bathroom vanity, there are several important steps that you will need to follow. Regardless of whether you choose paint or stain, you will need to first sand off the old finish. This is only possible if your bathroom vanity is made of solid wood. Laminate bathroom vanities typically can not be refinished in this way. Once you have all the old finish removed and your surfaces sanded clean, follow the steps below to refinish your bathroom vanity.
Disclaimer: This blog post contains affiliate links and we may receive a small commission for purchases made. These are products we highly recommend.
- Step 1 Prepare the Area
- Before you get started, it is important to prepare the area where you will be working. This means you will need supplies such as painter's tape and drop cloths. You will also need to ensure that the area you are working in is properly ventilated. Proper ventilation serves two purposes. The first is that it helps the finish dry faster. The second reason is that it actually protects you from potentially harmful fumes or odors. Check out the links below for drop cloths and painter's tape.
- Drop Cloth
- Painter's Tape
- Step 2 Prime Your Surfaces
- Now that you have your area prepped and the old finishes sanded off, you can get started with your primer. Depending on the configuration of your vanity and how much painting you will be doing, it can be extremely helpful to remove the cabinet doors and drawers. This makes it easier to apply steady, even strokes as you work. As mentioned above, your choice of paint or stain will determine the product you will need to prime your cabinets.
- For those choosing paint, you will need to source a primer. Combination paint and primers are available, however, we recommend separate paint and primer to achieve the best results. You should apply at least two coats of primer and allow each to fully dry before moving on. You will need to wait for each coat to fully dry before either moving on or applying the second coat. You will need to wait around 24 hours for each coat to dry. Check out the link below for primer.
- For those interested in staining their bathroom vanities, instead of a primer, you will need wood conditioner. This product serves the same purpose, but just in a different way. Rather than sitting on top of the surface like paint and primer, wood conditioner sinks into the grain of the door. You should evenly rub the wood conditioner in the direction of the grain pattern. This will help fill in the grain, which allows for you to achieve a better finish with your selected stain. You should let the wood conditioner dry for at least 30 minutes and no longer than 2 hours. Check out the link below for wood conditioner.
- Step 3 Apply Your Finish
- The final step in this quick guide is to apply your chosen finish. Whether painting or staining cabinets, you will achieve the best results with a sprayer rather than a brush. However, these tools are not only expensive, they also have a steep learning curve. However, this is not to say that you cannot achieve stunning results with brushes and rollers, it may just take more time. Again, proper ventilation is important for both you health and to speed up drying times. Just as with the primer, you will want to apply at least two coats of paint allowing each to fully dry. For staining, you will wipe or bush the stain on in the direction of the grain pattern. Be sure to have a cloth handy to wipe away any excess, again in the direction of the grain.
Pro Tip
If you have the flexibility, you should plan to refinish your bathroom vanity on a day with the ideal conditions. The ideal conditions for finishing cabinets are days that are around 70-degrees fahrenheit with 50-70% humidy. If it has recently rained in the past few days, it is advisable to wait until the humidy comes back down.
For more advice and pro tips from our cabinet experts, check out our How to Guides
Did you find this helpful?
 made in the USA
